How I Removed Old Carpet, Padding, and Tack Strips From My Bedroom Floor
Learn how I removed old carpet, carpet padding, tack strips, nails, and debris during my bedroom renovation. This DIY project shares the tools I used, lessons learned, common mistakes to avoid, and tips for preparing a concrete floor before installing new flooring.
Fred Artisan
6/20/20263 min read
My post contentHow I Removed Old Carpet, Padding, and Tack Strips From My Bedroom Floor
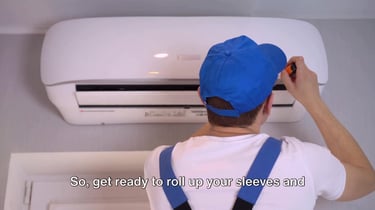
Removing old carpet sounds simple until you actually start the job.
When I began renovating my bedroom, I thought pulling up the carpet would be the easy part. I quickly learned that the real work started after the carpet was gone. Underneath were old carpet padding, tack strips, hundreds of staples, dust, dirt, and years of debris that had built up over time.
This article shares what I learned during the process, the tools I used, the mistakes I made, and a few tips that may save you time if you're planning a similar bedroom renovation.
Why I Removed the Carpet
The carpet in my bedroom was old, worn out, and ready for replacement. My goal was to install vinyl plank flooring, which meant everything had to come out first.
That included:
Old carpet
Carpet padding
Tack strips
Nails
Staples
Dust and debris
The cleaner the floor, the easier the next stages of the renovation would be.
Tools I Used
For this project, I used:
Utility knife
Pry bar
Hammer
Pliers
Shop vacuum
Broom and dustpan
Work gloves
Safety glasses
If you do not already own these tools, expect to spend approximately $50 to $100 depending on what you need to purchase.
Step 1: Remove the Carpet
I started by cutting the carpet into smaller strips using a utility knife. Smaller pieces were much easier to roll up, carry, and dispose of.
Once cut into sections, the carpet pulled up fairly easily.
The real challenge was what I found underneath.
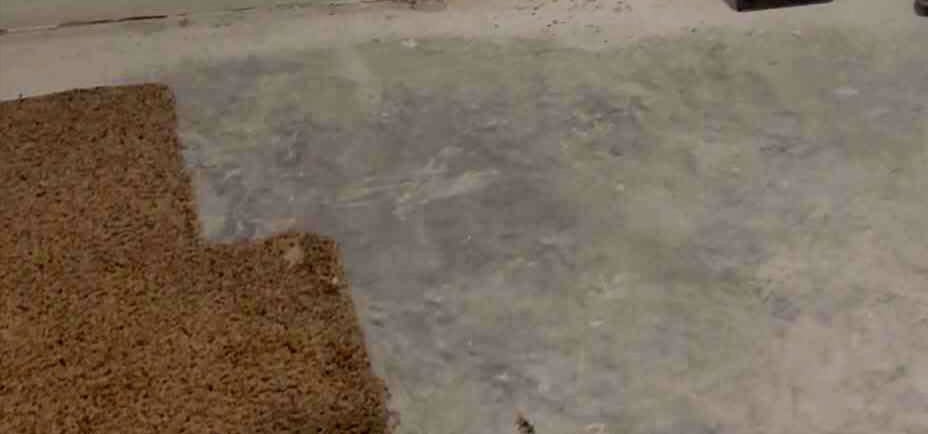
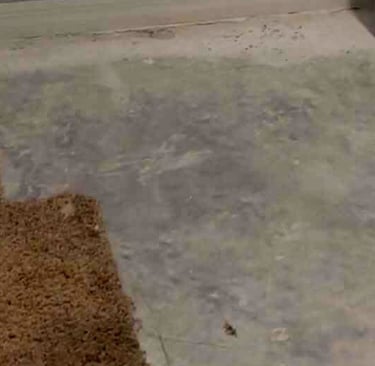
Step 2: Remove the Carpet Padding
After removing the carpet, I pulled up the old padding.
Some areas came up easily while others were stuck more firmly to the floor.
As the padding came out, more dirt and dust became visible. This was a good reminder that old flooring can hide years of debris.
Step 3: Remove the Tack Strips
The tack strips required more effort.
Using a pry bar and hammer, I carefully lifted each strip from the concrete floor.
Many strips broke into smaller pieces during removal, which meant taking extra time to collect loose nails and wood fragments.
This was one of the most time-consuming parts of the project.
A Lesson I Learned About Nails and Staples
One mistake many homeowners make is assuming they removed every nail and staple the first time.
I know I did.
After removing the tack strips, I thought the floor was ready.
Later, while laying down the vapor barrier, I discovered a few nails and staples that I had missed.
Some were difficult to see.
Others only became noticeable when I walked across the floor or inspected the surface more closely.
My advice is simple:
Take your time.
Inspect the floor carefully from multiple angles before moving to the next step.
Finding a missed staple after flooring installation is much harder than finding it beforehand.
Sweep and Vacuum Constantly
Another lesson I learned was the importance of cleaning throughout the project.
I regularly swept and vacuumed the floor to remove:
Loose nails
Hidden staples
Wood fragments
Concrete dust
Dirt and debris
Keeping the floor clean made it much easier to spot anything I had missed.
It also helped prepare the concrete slab for the next stage of the renovation.
What Took the Most Time
Surprisingly, removing the carpet itself was not the hardest part.
The tasks that consumed the most time were:
Removing tack strips
Pulling missed staples
Sweeping and vacuuming repeatedly
Cleaning the concrete floor
Preparation often takes longer than expected, but it is worth the effort.
Approximate Costs
My costs were relatively low because I completed the work myself.
Possible expenses may include:
Item Estimated Cost Utility Knife$10-$20, Pry Bar$10-$25, Work Gloves$10-$20, Shop Vacuum$50-$150, Disposal Bags$10-$20
If you already own most of the tools, your actual cost may be very small.
Final Thoughts
Removing old carpet, padding, and tack strips was the first major step in my bedroom renovation project.
While the work was physically demanding, it gave me a clean foundation for everything that followed.
The biggest lesson I learned was that preparation matters. Taking extra time to remove every staple, clean every corner, and inspect the floor carefully helped prevent problems later when it was time to install the vapor barrier and vinyl plank flooring.
If you're planning a similar flooring project, do not rush this stage. A little extra effort now can save a lot of frustration later.