
How I Removed a Popcorn Ceiling: Tools, Mistakes, Dust Control, and Lessons Learned
Learn how I removed my popcorn ceiling using a dry method with a drywall sander, palm sander, wide scraper, and shop vacuum. This step-by-step guide shares my real renovation experience, safety tips, dust management lessons, and practical advice for homeowners planning the same projec
HOME IMPROVEMENT PROJECTS
Fred Artisan
7/15/20268 min read
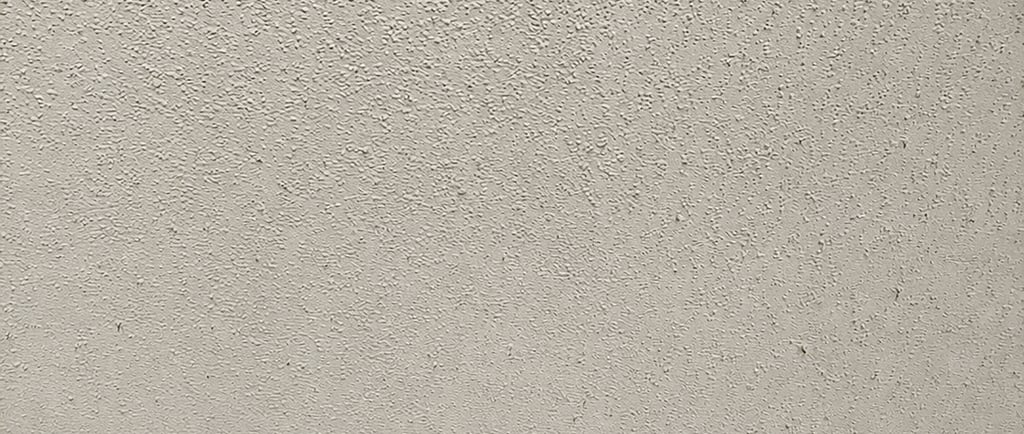
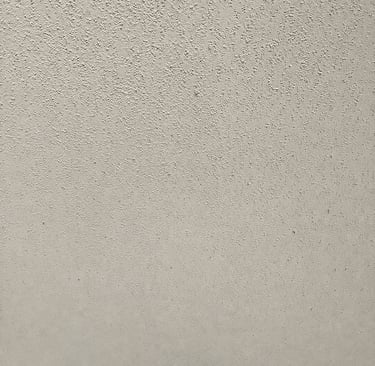
When I started renovating my bedroom, replacing the old carpet was only the beginning. Once the carpet, padding, tack strips, and staples were gone, I stood in an empty room with an aging popcorn ceiling that had probably been there for decades. It didn't make sense to install new flooring while leaving the old ceiling untouched. If I was going to renovate the room, I wanted to do it the right way from top to bottom.
Many homeowners remove popcorn ceilings because they want a cleaner, more modern appearance. That was certainly one of my reasons, but I also knew it would give me an opportunity to repair years of minor ceiling imperfections before painting. Looking back, removing the popcorn ceiling before installing the new flooring was one of the best decisions I made during the entire renovation.
If you're following my bedroom renovation series, you may also find these guides helpful before starting this project:
How I Removed Old Carpet, Padding, and Tack Strips From My Bedroom Floor
Bedroom Renovation Cost Breakdown: What I Spent and What I Learned
How to Remove Carpet Staples from a Concrete Floor: What I Learned During My Bedroom Renovation
Cleaning and Preparing a Concrete Slab for New Flooring: A DIY Guide Before Installation
Each project built on the previous one, and removing the popcorn ceiling was the next logical step.
Why I Chose the Dry Removal Method
If you've searched online for popcorn ceiling removal, you've probably seen countless articles recommending spraying the ceiling with water before scraping it off. That method works for many homeowners, but it wasn't the approach I chose.
Instead, I removed my popcorn ceiling completely dry.
I used a combination of a Makelift drywall and ceiling sander, a palm sander, and a wide scraper. A shop vacuum remained connected to the drywall sander during most of the project to help reduce airborne dust.
I chose this method because I already planned on repairing and repainting the ceiling after the popcorn texture was removed. I also wanted more control over the removal process instead of soaking the ceiling and scraping everything by hand.
Would I use the dry method again?
Yes.
Would I recommend it to everyone?
Only if you're prepared for one thing—dust.
Even with a vacuum attached to the sander, removing popcorn texture dry creates a tremendous amount of fine dust. Understanding that before you begin makes the entire project much less frustrating.
The Tools I Actually Used
One thing I appreciate when reading DIY articles is knowing what someone actually used instead of reading a generic list copied from another website. These are the tools I used during my renovation.
Makelift Drywall and Ceiling Sander
This became the primary tool for removing most of the popcorn texture.
It covered large areas much faster than sanding by hand, and the adjustable speed allowed me to work more carefully until I found a setting that removed the texture without damaging the drywall underneath.
One feature I really appreciated was the support strap. Ceiling work becomes tiring much faster than most people expect. Having part of the tool's weight supported made longer work sessions much more comfortable.
The Makelift also connected directly to my shop vacuum, which reduced a significant amount of dust, although it certainly didn't eliminate it.
Palm Sander
The palm sander became useful around edges, tighter areas, and spots where the larger drywall sander wasn't practical.
Instead of forcing one tool to do everything, switching between the drywall sander and the palm sander produced much better results.
Wide Scraper
No matter what power tools you own, there will still be areas where a simple wide scraper works best.
Corners, edges, and difficult spots often required a little hand work before moving back to the sander.
Sometimes the simplest tool is still the right one.
Shop Vacuum
The shop vacuum stayed connected to the drywall sander throughout most of the project.
Did it stop all the dust?
Not even close.
Did it help?
Absolutely.
Without it, the cleanup would have been far worse.
Safety Equipment You Shouldn't Skip
Removing a popcorn ceiling creates an incredible amount of fine dust. Protecting yourself is far more important than finishing the project quickly.
Before starting, I recommend having:
Safety glasses
A quality respirator or dust mask
Hearing protection
Work gloves
A sturdy ladder
Good lighting
The dust isn't just messy—it becomes airborne and can remain suspended for quite a while. Taking a few minutes to put on proper safety equipment is time well spent.
Preparing the Room
Preparation makes this project much easier.
Fortunately, my bedroom was already empty because I had removed the old carpet, padding, tack strips, and staples. That left nothing but the concrete slab underneath, which meant I didn't have to worry about damaging new flooring.
If you're planning a similar renovation, I highly recommend doing ceiling work before installing finished flooring whenever possible.
Any furniture that remained in the room should be covered with plastic sheeting or moved somewhere else entirely.
Even if you think you've covered everything, expect dust to find places you never imagined.
Testing Before Sanding the Entire Ceiling
One mistake many beginners make is starting full speed across the entire ceiling.
I did the opposite.
I tested a small area first.
That simple test answered several important questions:
Was my sanding disc aggressive enough?
Should I adjust the speed?
Was I removing only the texture instead of damaging the drywall?
Those few minutes of testing probably saved me hours of repair work later.
Once I felt comfortable with the results, I slowly worked my way across the rest of the ceiling.
Let the Tool Do the Work
One lesson I learned very quickly was that trying to rush only made the job harder.
Instead of pressing harder against the ceiling, I let the Makelift sander do the work.
Whenever I reached a stubborn area, I simply slowed down or came back to it later rather than forcing the tool.
That approach gave me much better control and produced a smoother finish.
The same principle applied when using the palm sander.
Working patiently almost always produced better results than trying to finish the room as quickly as possible.
Working Around Corners and Tight Areas
The drywall sander handled most of the open ceiling, but like many renovation projects, not every section was easy to reach.
Around the edges of the room and near corners, I switched to my palm sander and wide scraper. Rather than trying to force the larger sander into places it wasn't designed to reach, I used the tool that made the most sense for the situation.
This combination worked much better than relying on a single tool.
The drywall sander handled the large areas.
The palm sander cleaned up the tighter spaces.
The scraper took care of stubborn spots and areas that needed a little extra attention.
Trying to make one tool do every job usually creates more work.
The Dust Was Worse Than I Expected
If there's one thing I want every homeowner to remember from this article, it's this:
Expect far more dust than you think.
Even though I had my shop vacuum connected to the drywall sander, fine dust still escaped.
It settled on the walls.
It settled on the windows.
It settled in the hallway.
I even found dust outside the bedroom.
At first, I wondered if something was wrong with my setup, but after thinking about it, I realized I had kept my home's air conditioning running during the project.
On a commercial construction site, contractors often shut down the HVAC system to reduce dust circulation.
For a homeowner renovating a bedroom in the middle of a Florida day, that isn't always practical.
Turning off the air conditioning for several hours would have made the house extremely uncomfortable.
I accepted the trade-off.
The house stayed cool, but I also accepted that I would spend more time cleaning afterward.
If you decide to leave your HVAC system running during your project, don't be surprised if dust travels farther than expected.
My advice is simple.
Plan for it.
Don't fight it.
Vacuum often.
Dust often.
When the project is complete, replace your HVAC air filter because it has likely collected a considerable amount of fine drywall dust.
Don't Chase a Perfectly Smooth Ceiling
One thing I noticed while working was how easy it is to become obsessed with making every square inch perfectly smooth.
I almost fell into that trap myself.
Instead, I stepped back and looked at the entire ceiling rather than focusing on tiny imperfections.
In the end, I intentionally left a very light texture instead of sanding everything perfectly smooth.
Once the ceiling is repaired, primed, and painted, those small variations become almost impossible to notice.
Trying to create a perfectly flawless ceiling would have added many more hours to the project with very little visual benefit.
Sometimes knowing when to stop is part of doing quality work.
Ceiling Repairs Were Still Necessary
Removing the popcorn texture doesn't automatically give you a perfect ceiling.
Once the texture was gone, years of small imperfections became much easier to see.
Minor dents.
Old repairs.
Small cracks.
Uneven joints.
Instead of seeing this as a setback, I looked at it as an opportunity.
This was the perfect time to repair everything before applying primer and paint.
If you're removing a popcorn ceiling as part of a larger renovation, expect some repair work afterward.
That's completely normal.
In my opinion, it's actually one of the biggest advantages of removing the texture because it allows you to start with a cleaner foundation.
Mistakes I Made
Looking back, there are several things I learned during this project.
The first was underestimating how much dust the dry method would create.
Even with a vacuum connected to the sander, cleanup became part of the renovation rather than something I only did at the end.
The second lesson was learning not to rush.
Whenever I tried moving faster, my results became less consistent.
Slowing down actually saved time because I wasn't creating extra repairs for myself later.
I also learned not to rely on a single tool.
The drywall sander handled most of the work, but switching to the palm sander and scraper when needed produced much better results.
Finally, I learned that perfection isn't always necessary.
A ceiling doesn't have to be perfectly smooth to look excellent after repairs and paint.
Would I Do It Again?
Absolutely.
Removing a popcorn ceiling is one of those projects that looks intimidating before you begin.
Once I understood the process and accepted that cleanup would be part of the job, it became much more manageable.
It isn't the easiest DIY project.
It isn't the cleanest DIY project.
But it is absolutely something many homeowners can accomplish with patience, the right tools, and realistic expectations.
Tools That Helped Me
If you're planning a similar project, these are the items I found most useful:
Buy quality tools where it matters most. A comfortable respirator and a reliable shop vacuum made a noticeable difference throughout the project.
Final Thoughts
Removing my popcorn ceiling wasn't about following the fastest method or copying what everyone else was doing online. It was about finding an approach that worked for my renovation, my tools, and my home.
The dry method wasn't dust-free, and I never expected it to be. Even with a vacuum attached to the drywall sander, cleaning became part of the job. Once I accepted that reality, the project became much less stressful.
What I'm happiest about isn't just the finished ceiling—it's knowing that I prepared the room properly for the next stages of the renovation. Every project in this bedroom has built on the previous one, from removing the old carpet and tack strips to preparing the concrete slab and now creating a clean ceiling ready for repairs and paint.
If you're considering removing your own popcorn ceiling, don't let the size of the project discourage you. Work safely, be patient, let your tools do the work, and don't expect perfection on the first pass. With steady progress and realistic expectations, you'll end up with a ceiling that's ready for its next chapter.
Next in my Bedroom Renovation Series: repairing the ceiling, fixing imperfections, and preparing everything for primer and paint.